How frustrating is it when you know you fixed your toilet with the help of a great plumber, but you cannot remember who that plumber was that helped you? Or you have this amazing handyman and just when you need him, you are searching through drawers for that card you misplaced. Frustration is at an all time high when you cannot remember the great vendors you use and you need them! Or you know your vendors but you cannot remember where their contact information is so that you can schedule your next service. You need the people that help you with your home sometimes in unexpected situations. And you do not have time to dig through drawers or search the internet for Ray’s number because you cannot remember the name of his company.
Tracking all your contacts that have an impact on your home can easily be done using the contact section within HomeZada. You can add emails, websites, phone numbers, addresses and more to each contact record. Additionally, you can add quotes, invoices, and contracts for each contact or vendor that you may need to reference in the future. Here is how you can add this data to your HomeZada account.
Adding Contacts in HomeZada
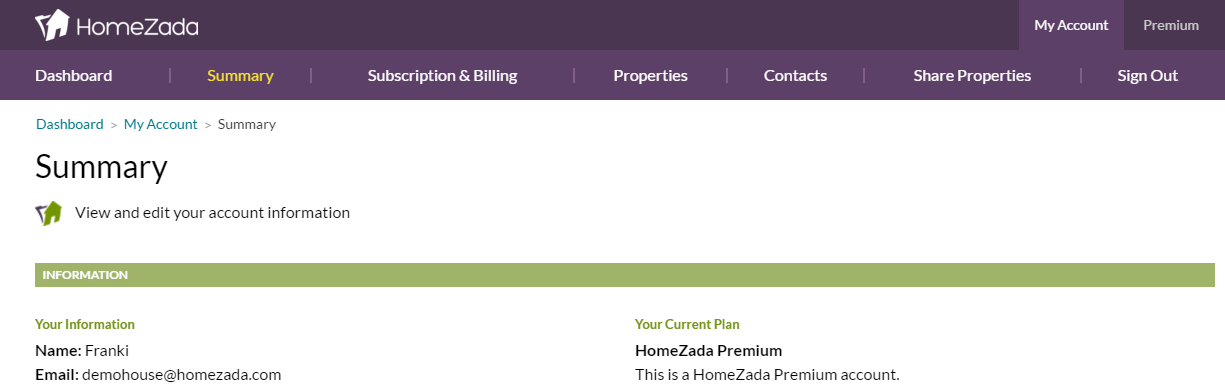
When you login to HomeZada, click on My Account in the upper right hand of the tool bar. In the top purple tool bar, you will see Contacts. Click on Contacts.
If you have existing contacts within HomeZada, you will see them here.
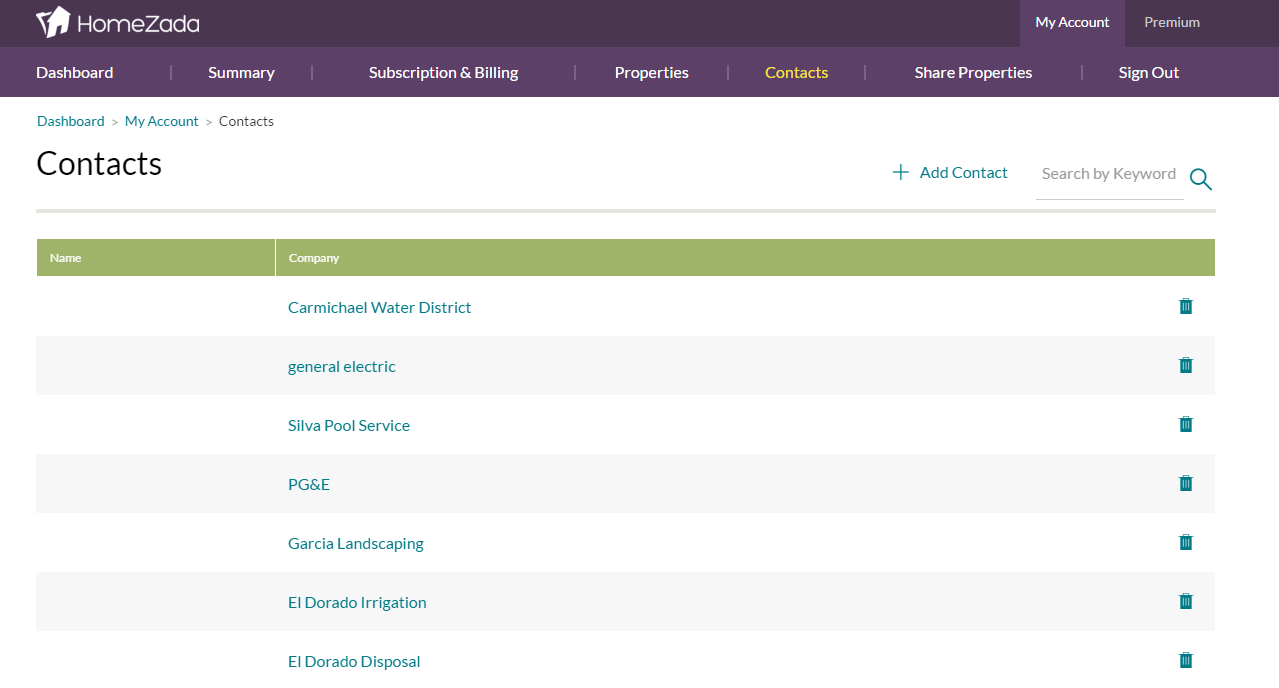
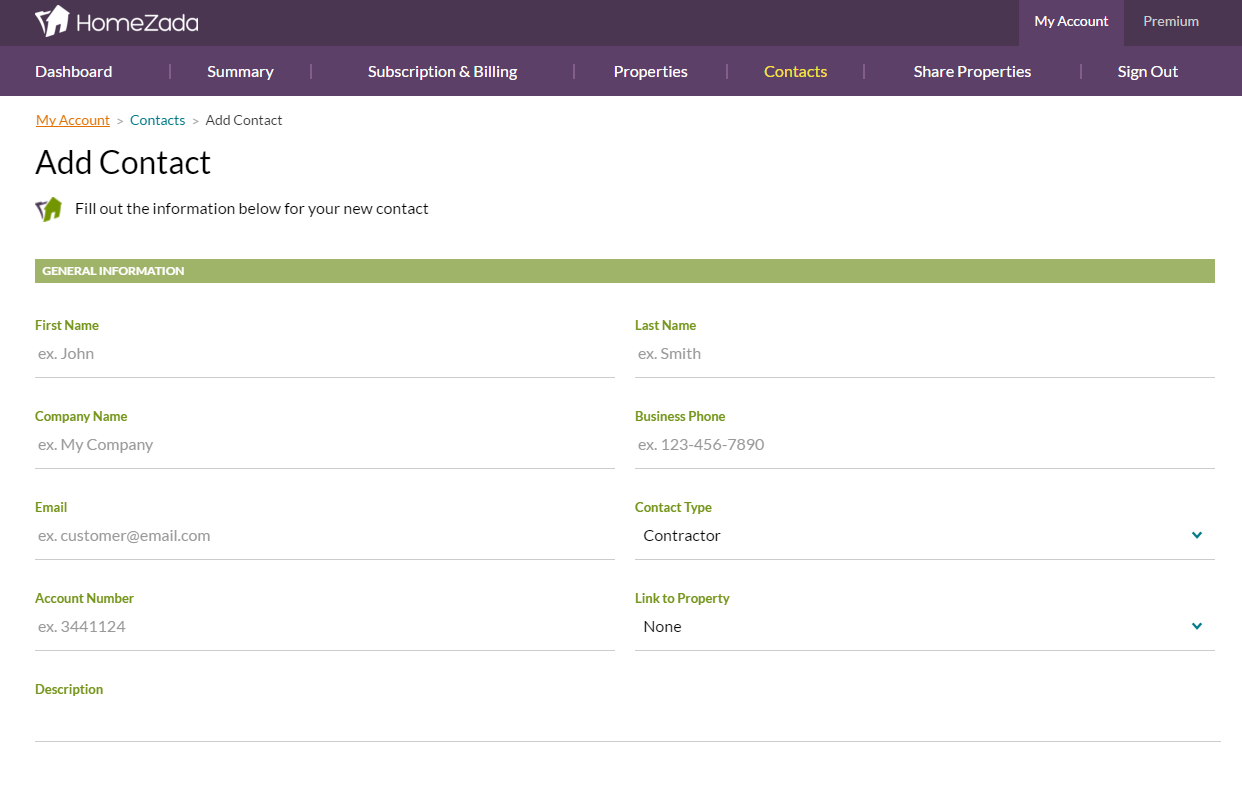
To add a contact, simply click the + Add Contact. This will then take you the fields that you can add about your vendor. Several fields are available to you, but the fields are not required. So if you do not have any details about a particular field or the field does not apply, just leave it blank.
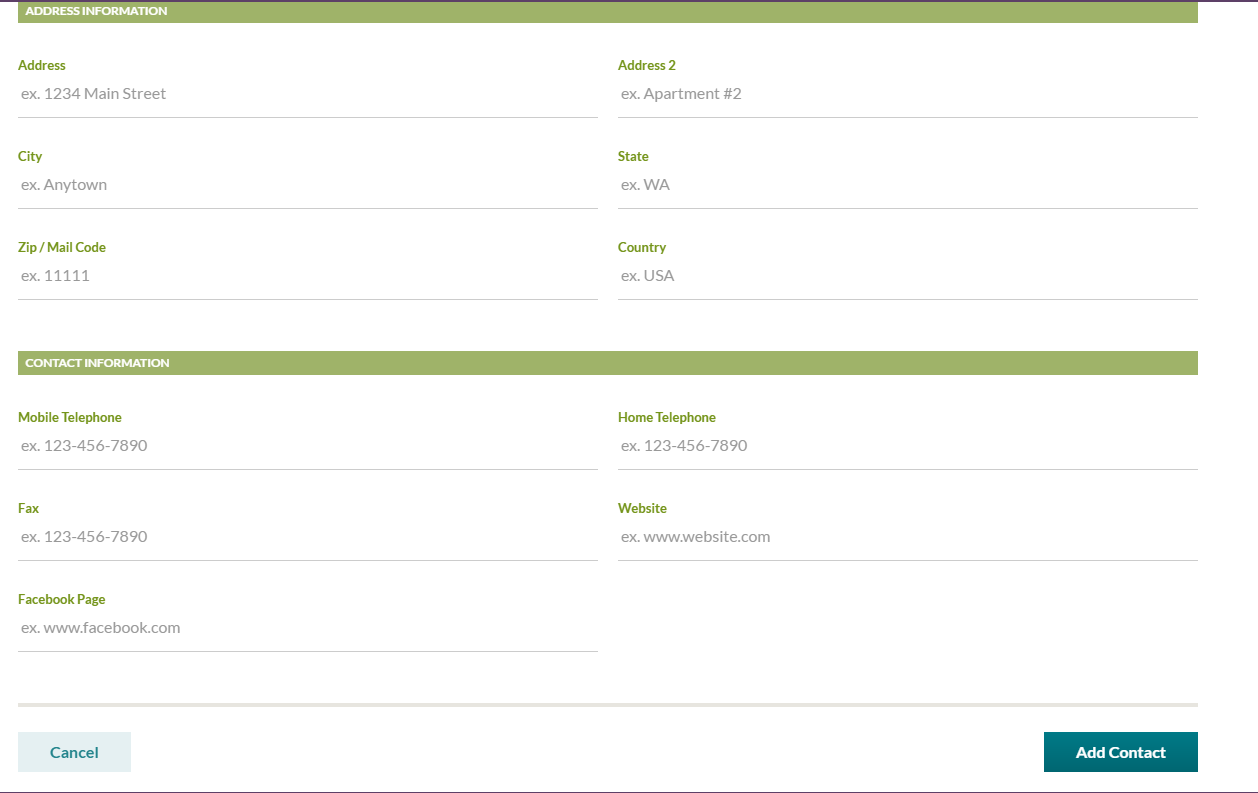
Once you have completed the form and saved your contact, it will not show up with all your other contacts. You can now also keep track of any pertinent documents for each vendor. Again you access Contacts from the My Account page and you can view all your contacts. You can also edit data of existing contacts by selecting each contact. This is where you can add photos, documents or other pertinent information pertaining to this particular contact.